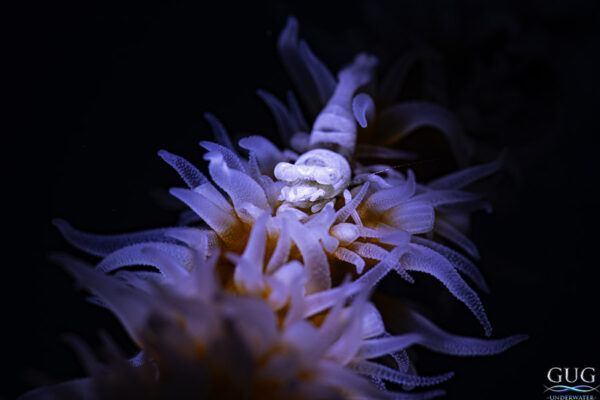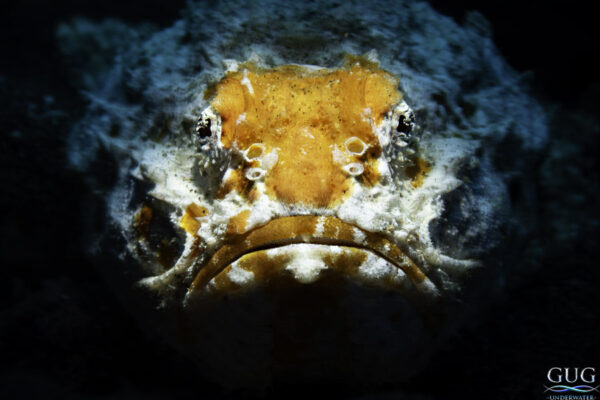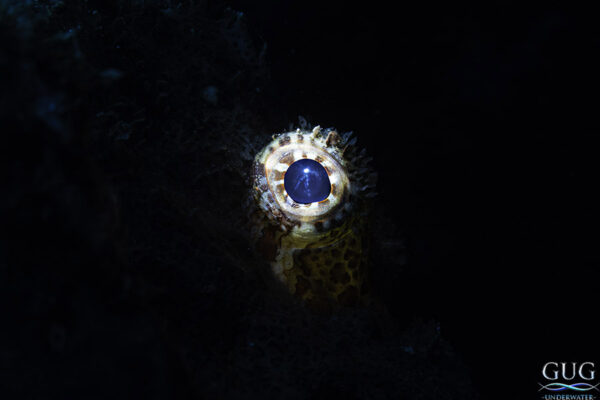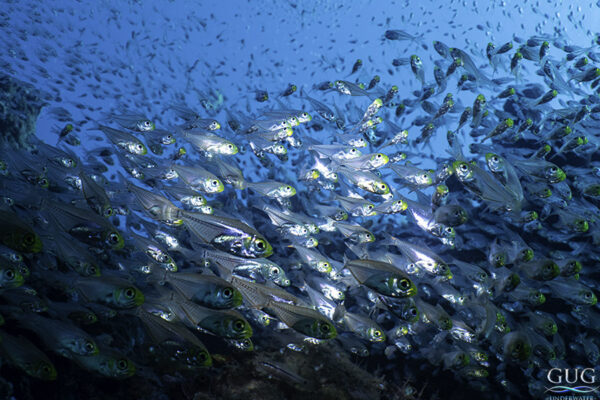
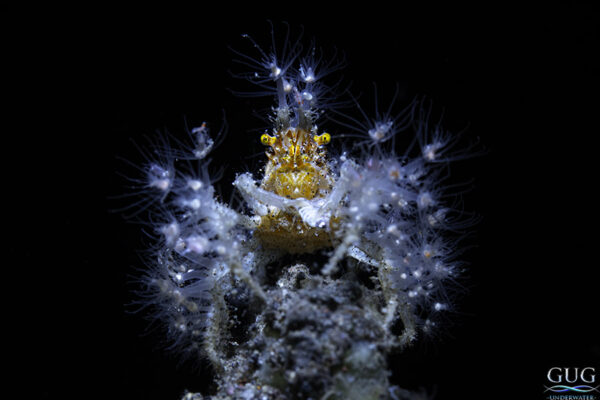
Wow – an actual article written by a real human without using AI!!! You bet your snooty ass this is gonna be old-school fishy photography gold! Also, note that because this is a technique article, all photos are un-edited (basic raw conversions only).
For my entire career, I’ve avoided using flash snoots, and considered them to be gimmicky, and creating an artificial quality of light that I felt unrealistic and unnatural. Nothing gets a bigger bored eye-roll out of me than seeing another one of the countless thousands of lame snooted photos with what I call the “stage-spotlight” or “alien-abduction” perfect circle of light surrounding an immobile creature. And while seeing this uncreative cookie-cutter formula trending among underwater photographers online and on social media, I couldn’t help but think there must be a better way. Of course, there’s only one way to find out: get some snoots and dedicate 5 months’ shooting to seeing what all the hype is about!
The Basics – What Is A Snoot?
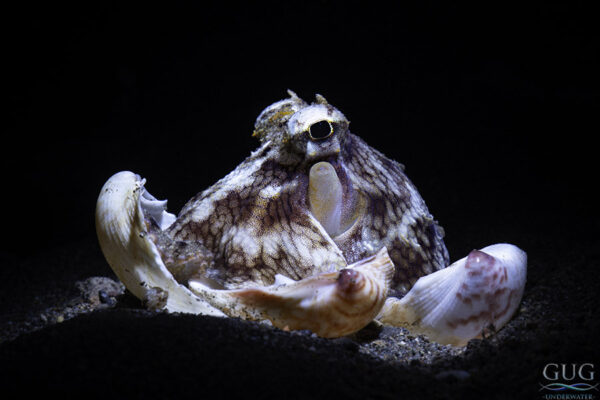
Think of it as a light-shaping/limiting device for a flash. Since almost every photo in my portfolio has been shot with flash, you’re used to seeing light, color, and crispness throughout the entire scene, as I use very powerful strobes with diffusers that spread the light, basically like bring artificial sunlight to a scene, but often times, the mark of a good photo is to blend the strobe light with the ambient sunlight in a seamless manner. A snoot is the opposite of that. Think of it like adding a sophisticated tube or toilet paper roll to the business end of a strobe. Instead of lighting the entire scene, a carefully-placed beam of light illuminates only a portion (sometimes a tiny, tiny portion) of the photo. The remaining portion of the frame then either remains unlit (black), or lit by some ambient light from the sun.
Why Use A Snoot?
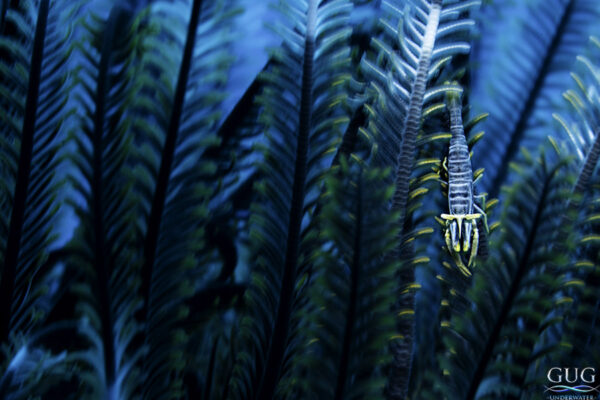
Well, there’s endless creative answers to that, but the simplest explanation is to highlight only a small section of interest. By not lighting the entire scene, attention is drawn to what is lit. Maybe that helps a photographer shoot a well-camouflaged critter and make it stand out from its background, because the creature is now has color and detail, while its surroundings remain muted and flat. Or perhaps the goal is to make a more 3-D pop – the most commonly-used snooting position is a single strobe at the 12-o’clock position aiming downwards and slightly forward, and this adds much more depth to a shot than does two forward-facing strobes at 3 and 9-o’clock on either side of the lens. The great news is, modern snoots are quite adjustable, and since each scene deserves a different approach, you can adapt the lighting on the fly – more on that topic later as I discuss my disgust for the cookie-cutter “alien-abduction” perfect circle of light that the most uncreative photographers seem get complacent with.
The History Of Snooting:
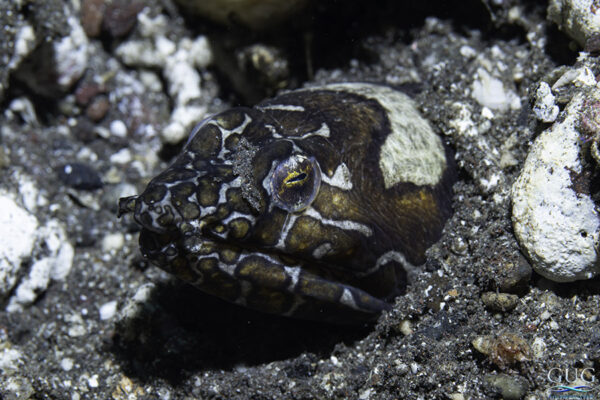
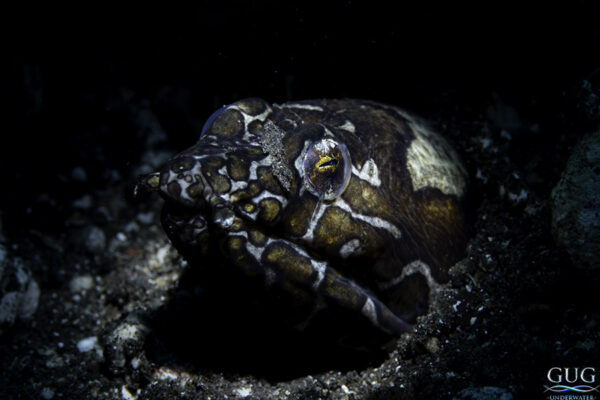
First off, snooting is not an underwater-only technique. Above-water photographers have been snooting in one form or another since the advent of photography. And while it’s only been popularized in the world of underwater photography in the past 8-10 years, they’ve also been used underwater since the 1960’s (maybe earlier?) mostly by people shaping PVC pipe and other plumbing supplies into what we now call “light restrictors”. Then in 2009, Canadian photographer Keri Wilk engineered a revolutionary fiber-optic snoot and took the world by storm with a ton of award-winning photographs over the next year. Whereas the year before, 98% of divers had never heard of a snoot, almost overnight, divers went ga-ga for macro snoot photography. Sadly, for reasons I’m not familiar with, Keri’s snoot manufacturing company kinda disappeared from the market, even while demand far exceeded supply. While I was living in Papua New Guinea, he gifted me one of his prototypes, and I used it successfully a few times, but I simply didn’t catch the snoot bug, as I have always been a wide-angle-scenic photographer, and was obsessively shooting in that style at the time. In other words, every dive focused on snooting stopped me from shooting “my way”. Fast forward to 2026, and in macro/muck diving hotspots like my new home of Tulamben, Bali, well over half of all photographers are exclusively using snoots from a plethora of different commercial manufacturers. Snooting is the norm here, while in other parts of the world with other types of diving, it’s rarely, if ever, seen.
My gear:
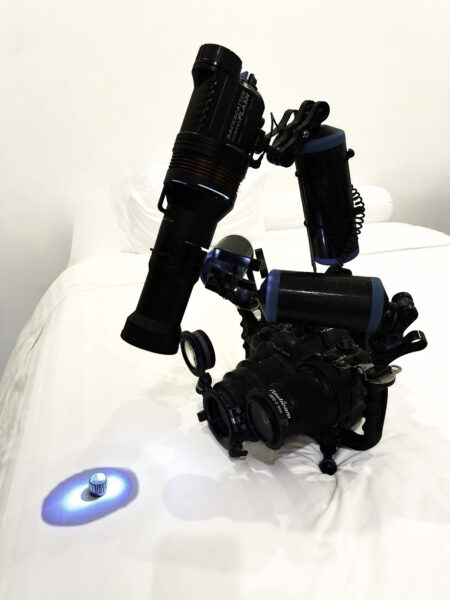
For the past 18 months or so, I’ve been shooting with the Backscatter Hybrid Flash (aka HF-1) after discovering a problem with strobe synchronization with my longtime favorite Ikelite DS-160/230-series strobes when used with the Nikon Z8 and the Nauticam fiber-optic circuit board. The HF-1’s are as powerful as the Ikelites, but solve much of the fast shutter speed synchronization issues that sadly made using Ikelite impossible with my modern high-end cameras. That doesn’t mean the HF-1’s are perfect, and I’m still on a quest for my dream strobe. I wish I was an electrical engineer, because I’d like to build one that actually suits my needs! Anyway, Ikelite never made their own snoot, and Backscatter also didn’t have them for their flagship HF-1’s until they announced the OS-3 model in November 2025 at DEMA. I bit the bullet and ordered a pair of the OS-3’s, and they arrived to me in Indonesia about 5 months later. I’ve now been using the OS-3 for half my shooting over the past 5 months, so probably around 150 or so dives shooting with the snoot(s). At first, I put one snoot on each strobe, and found it quite unwieldy, and it took me a long time to get the pinpoint of light into just the right position from the right or left arm. So I modified my buoyancy float arms to form a forward-facing V (which also replaced my rope as a handle), and put my single snooted strobe center-mounted atop the underwater housing. This made it much easier to get the pinpoint of light lined up, as it was already in nearly the perfect position before starting the dive. Looking around at all the other Tulamben snooting photographers, almost everyone uses this method, but with a smaller setup. My Backscatter HF-1 & OS-3 snoot combo is much larger than most people care to carry and manage on a dive. Yes, I admit, if I was a die-hard nudibranch hunter, or a tiny-critter-obsessed, magnifying glass-wielding muck-picker, I’d opt for a much smaller/lighter dedicated snoot system like the Backscatter Mini Flash 3 and OS-1 snoot, which from my observations, accounts for about a 60% market share, and does a good job. I get almost all my gear from Reef Photo in Boca Raton, Florida, USA, and no I don’t get a commission for referrals – I just like them, their service, their assistance, and their general friendliness. But if you’re working with them, sure, drop my name, and they’ll treat you like family.
OS-3 Snoot Logistics:
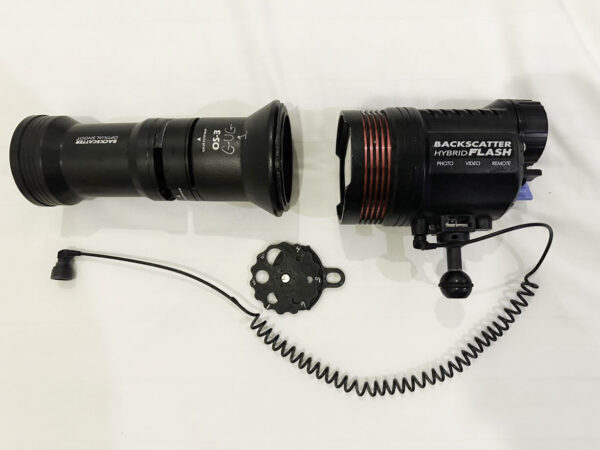
Yes, it’s a huge beast, and smaller systems have their advantages. But aside from that, its not too shabby. It comes with two 6-way rotating discs (that I’m always afraid I’m going to loose) which control the size of the light opening, one being circular, and the other being oval-shaped. Each has 7 sizes; openings 1-6, plus you can pop out the disc completely and without the disc, you have the largest beam of light. But honestly, Backscatter – why would you not write the numbers 1-6 next to the 180-opposite holes? Pro-tip: get a paint pen, and label them yourself – you’ll thank me later! Then you can also easily remove the snoot from the strobe in 1.5 seconds and stick it in a (big) pocket or clip it off. At first, I kept the 2nd disc (oval) clipped to my strobe arm via the string clip that Backscatter provides with the HF-1 dome diffusers, but found yet another dangly bit to be annoying, so I only use the round version, and on the rare occasion that I want to fire a few shots with the widest beam, I just hand-hold it for a minute, and if I’m going to keep shooting like that, I eventually tuck it into a pocket. Also, many brands have a reputation for the modeling light beam to not line up with precision (this is essential for all snoot shooting), and this is mostly a non-issue with the OS-3. More specifically, if you’re using it at the appropriate distances (around 5”-14” away), it’s pretty spot-on, but move outside of that range, and yeah, a 1/16” misalignment can be a frustration. Move even further outside the appropriate range, and that misalignment can increase to an infuriating 1/8” or even 1/4”, ruining some opportunities. But practice, practice, and more practice allows for quick corrections to distance and 1-6 hole openings on the dial, and you’re quickly back into the right range. And a last thought – seeing the aiming light at 90’ deep on an overcast day is easy. But seeing it on a sunny day at 8’ deep is nearly impossible. Also, there are 3 settings for the aiming light, (red, spot, flood), each with 3 power levels, and only practice will get you the right light for the job. Practice at home so its muscle-memory during the dive. And did I mention its freakin’ huge?!?!
How To Use A Snoot:
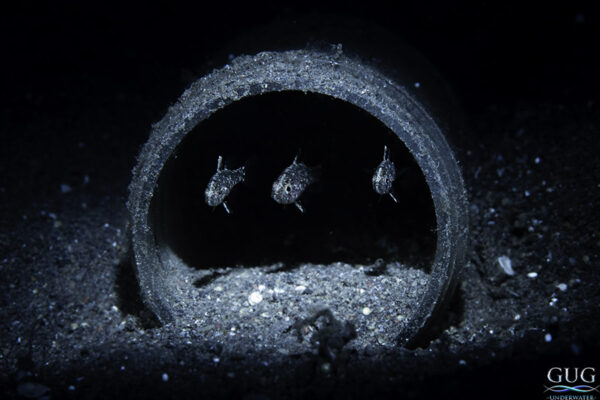
Okay, so we’ve established that mounting it to the top of the housing at a 12-o’clock position and about 5-14” away is usually ideal. Yes, of course, there’s plenty of creative reasons for positioning it elsewhere, but let’s stick to the normal spot. Here in Tulamben, diving is all about rare critter hunting, and while that’s fascinating, it’s rarely a productive mindset for a photographer. I like a rare species nudibranch as much as the next guy, but I’d rather have a common nudibranch in the perfect photogenic position. There’s an ancient underwater macro photography proverb that roughly translates to, “Find the background first, then look for a subject within it”, and that saying makes my Tulamben diving community cringe in their never-ending hunt for the rarest, most obscure critters. So yeah, I ramble…. What I’m getting at, is you don’t have to photograph every rare fish. Instead, find the fish that’s in the perfect spot. You have to have space for getting the camera close, getting the snoot up above the lens, and most importantly, in a spot where you can hold still without destroying habitat for all the creatures around you. Side note – people ask me all the time why I wear long freediving fins while doing photography on scuba. If I had a nickel for every time someone said, “wow, I bet you’re fast in those”… NO! The measure of a good diver with perfect buoyancy (and therefor, the ability to get the shot), isn’t how fast you swim, but rather how motionless you can hold for 30 minutes at a time. And long freediving fins, for me, for my style, helps me do just that. Okay, okay, I said I was going to talk about how to use the damn snoot, and I got sidetracked…..again…
Settings For Snooting:
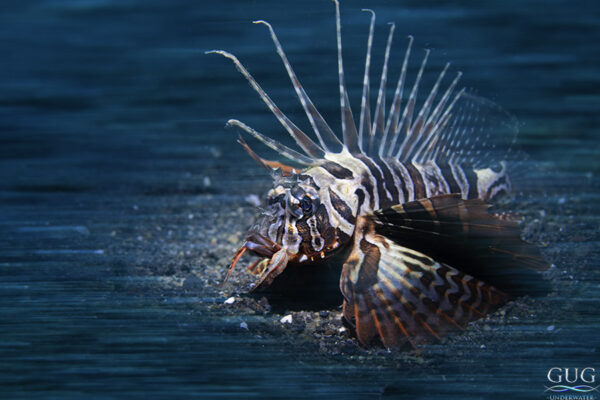
The goal of the snoot is to separate the subject of the photograph from its background. So first, decide if your photo wants a black background (like 99% of snooted photos), or a bluewater background (a more advanced technique). For black, first, make sure your shutter speed is a fast as your camera allows (in my Z8’s case, that’s 1/200-sec). Then consider your depth of field. For 99% of shots, more is better than less, but shallow DoF bokeh is always a great technique as well. So for black, you want the smallest aperture you can without introducing unnecessary diffraction (for me, that’s ~f22 – yours may be different). ISO… People – you’ve gotta stop caring so much about ISO!!! Modern cameras can handle way more than you think. Fine, you’re yelling at me because I’m not hand-holding and telling you an easy answer number that I don’t believe is accurate….. So fine – 400. Happy? Is it correct? No! But you said you wanted an easy one-size-fits-all canned answer, so there it is. Now experiment with strobe power on a rock BEFORE you get to your first subject. On the HF-1, I use every power setting from minimum to maximum depending on subject reflectivity and distance.
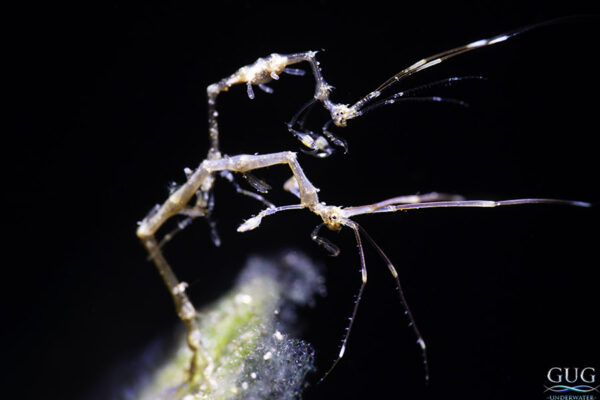
Hunt For The Right Subject – Not The Rarest Subject:
I know you’re going to agree with me while reading, and then do the exact opposite while underwater. I’ve seen it 1000 times. Stop. Think. How can you separate the subject from its background. Is the 12-o’clock norm the best choice? Photography 101 rule #1, “get down low and shoot up” still applies, but in the world of underwater macro shooting, our 3-dimensional space changes the equation, since as long as you position yourself to where it looks like you’re lower and shooting up, you can be upside down and facing the sea floor, while still creating the perspective that you’re following the rule. But the easiest is when the critter is on something that juts up or out. Shrimp on wire corals, Shaun the Sheep nudibranchs on a leaf algae, squat lobster in a crinoid… you get the idea – slow creatures where you have a stable place to position yourself, and then get ready for aiming the light. And aiming can be tough. Say, for example, you shoot with my lens, the Nikon 105mm – your minimum focus distance is ~7” @ 1:1. So to fit your tiny critter, you aim your light to make a ½” circle at a distance of 8”. Now you have to approach & aim. Easier on a little camera with a big screen like a TG-7, harder on a Z8 or Sony A7. First, make sure the light is centered in your ideal composition, and I repeat, do this on a rock away from the subject – NOT on the subject itself. Test your strobe power and make adjustments before approaching the real subject. Now if you want to be 8” away, start at 4” and creep closer, closer, closer – aha! There’s your aiming light, now in-frame. Doing all this on a compact camera’s LCD is easy. Doing all this on a large underwater housing’s standard viewfinder optics it very tough. Doing it on a magnified straight finder is easier, but still tough. A 45-degree angle-finder makes it easier. But my personal preference, is to use a large external monitor, but of course, that’s more weight, more bulk, and more cost. Now compose so that nothing else will be illuminated by the subject, but now you MUST avoid creating a crappy-looking filthy, dirty, cheap, nasty perfect circle of light.
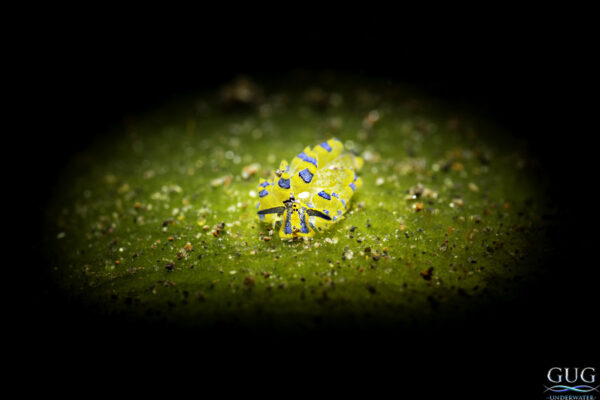
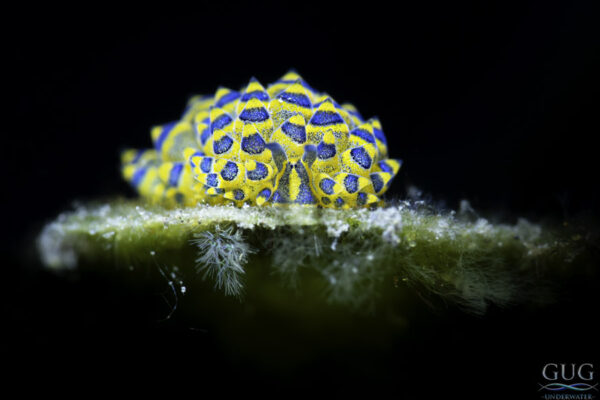
Alien-Abductions:
Now that you’re lined up, and exposure is good, for the love of god, please, please, please avoid the “stage-lighting” “alien-abduction” style of lighting with the perfect circle! Now you know better, so do better, people! I’m describing the downward-angled circle of light creating a flawless circle of light around the subject. Barf!!!! Vomit!!!!! Horrible!!! It seems to be a trend among inexperienced photographers to actually want this, but why??? There’s a million ways to avoid it; too many to list here, because every situation is different. But that’s part of the fun challenge of snoot photography – you have to figure it out for each composition. Irregular surfaces beneath the subject help. As does a critter crawling up to the tippy-top of anything. But flat-down on the sand, flat on a leaf, flat on a rock – this is where it can all go awry and put you on my naughty list for creating that ugly, ugly, UGLY alien-abduction circle of light. And I WILL make fun of you.
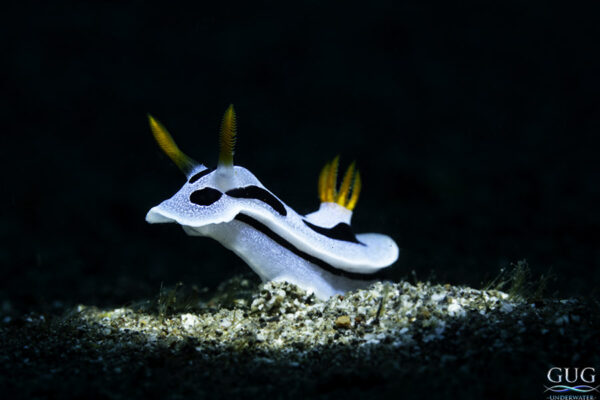
Advanced Stuff:
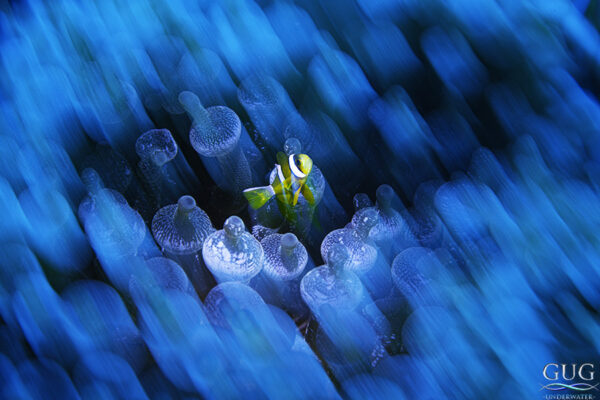
Fast shutter speeds create black backgrounds (yes, along with smaller apertures and low ISO’s), so lets slow down the shutter speed and get a blue background. How much? What speed? Well, there you go again, looking for the one-size-fits-all easy answer, and there isn’t an easy answer. And if it was easy, then everyone would do it, which is why black backgrounds are so popular in snoot photography – because they’re easier. Okay, but you’re still dying for a number. Don’t. Instead, use your camera’s light meter! But fine, I’m probably thinking around 1/30, 1/20, maybe even 1/10 second. And yes, without a flash, that makes blurry photos. But with a flash, what is illuminated, can stay sharp if you do it right. Cool – a blue background and an illuminated & crisp subject! Now let’s make it even harder, and introduce some movement with a pan, a zoom, an intentional jiggle…. Like I said…, if it was easy, everyone would do it. After all, are you trying to take boring photos (what we call, “fish-ID shots”), or are you trying to create something beautiful?
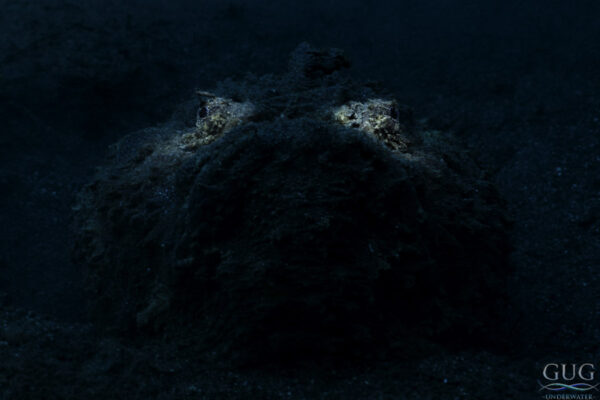
Another way to make it even harder is to change from the easy 12-o’clock overhead lighting position to something a bit more creative. You’ll immediately find that locating your aiming light beam becomes 10x more difficult. But now you control the shadow! Also, I’ve done several dives with dual strobes and dual snoots, and unless you’re already bald like me, it’ll make you want to tear your hair out! Be ready for 30 minutes of testing & aiming before even getting things lined up, but when you finally illuminate just the two eyeballs of a stonefish… you now have a shot that no one else has, but also no one on Instagram cares about on their 2.5”-wide screen. Bummer – all that work for 7 pity-likes. But congratulations – you’ve done what no one else would even try to do!
So yeah, I resisted the call of the snoot for decades. And now I’ve actually grown to like using them. Partially because I no longer have to use a home-made jury-rigged bunch of tubes held together like Frankenstein with duct tape, since >10 manufacturers have finally created snoots that are much easier to use. But also because I am, and always have been, a wide-angle fisheye shooter, rather than a macro shooter, but I now live in Tulamben, Bali, which is Ground-Zero for muck/macro diving. And it’s absolutely worth mentioning that while unpopular, snoots can be used for fisheye shooting too! Look around on the next dive boat, and you might notice an inconspicuous ring jutting out just 1-2” from a strobe – that’s a “beam-restrictor”, which is kinda like a ghetto-snoot. I’ll use these for specialist applications where my normally-diffused 110-degree-spread strobes are now limited to perhaps 40-degrees. It’s a cool, fun, cheap, and lightweight tool for the fisheye shooter’s arsenal, and an enjoyable challenge to experiment with. But it all comes down to you being honest with yourself – are you looking to create snooted photos that are on-trend and look like everyone else’s in an ever-increasingly-crowded field? Or are you looking to find a brand new way to snoot, and take the risks involved in trying something fresh? Both methodologies are perfectly fine & acceptable, but you should have the self-awareness to understand which style you’re aiming for.
Okay, cool, that was a lot, and you’re probably now asking why I wrote all this out old-school (and without any AI) instead of making a tiktok or reel. Yeah, as I wrap up, sometimes I wonder too… But my best answer is, this is a complicated topic, and you won’t go back & watch a tiktok when you actually need it 6 months later, but you’re more likely to re-read my ramblings here. See ya on a Reel for the less-important stuff, and the next time I don’t care about you, your photography, or my photography, I’ll have AI write my thoughts for me 🙂